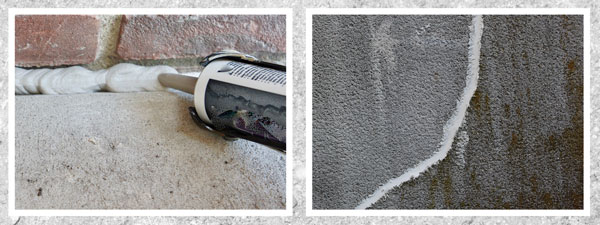
Eventually, it happens to the nicest concrete sidewalks and driveways. Cracks appear. The cause of the cracks can be temperature change, ground shifts or water damage. The hairline cracks that are common can most likely be ignored, but wider cracks should be filled and sealed, not only to improve the appearance, but also for safety and to prevent further damage from water entering the cracks.
For small cracks, begin the repair by removing all loose debris. This can be accomplished with a screwdriver to lift the larger loose debris, and then either vacuum the crack with a shop vac or blow the loose material from the crack with an air compressor. If you have a wire brush attachment for a drill or grinder, you may use it to further remove dirt and debris, as the cleaner you are able to make the crack, the better your repair will be.
Depending on the depth of the crack, backer rod may need to be inserted into the crack. Backer rod is round foam that can be cut to length and pushed into the crack with a screwdriver. It comes in various widths. Using the backer rod can make filling the crack more economical, as less of the more expensive liquid filler will be required. The backer rod should be pressed down to at least half-an-inch below the surface of the concrete.
Backer rod may not be necessary for shallow cracks, so the backer rod step may be skipped. However, the next step, which is to fill the crack with a pre-mixed patching compound — available from your local hardware store — is the same, regardless of the depth of the crack. Follow the label directions, as some compounds may or may not require the floor to be dampened for proper adhesion.

You will want to slightly overfill the crack to allow for some settling, then smooth the surface with a trowel. If desired, further smoothening can be done with an electric grinder after the filler is fully cured.
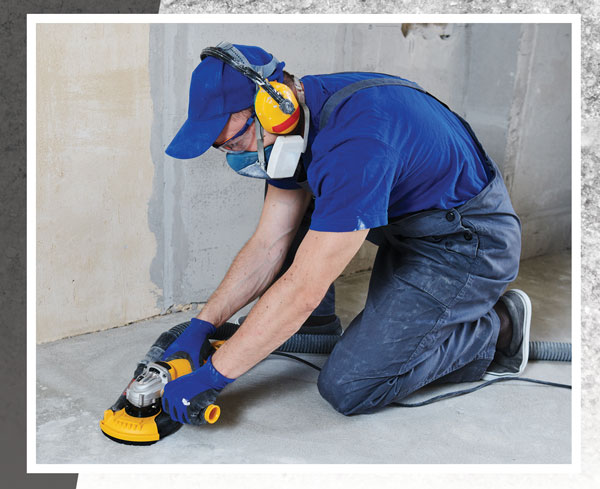
If there is not enough surface area in the crack for your patching compound to adhere, it may be necessary to widen the crack and create a “v” shape in the crack to hold the compound in place. If the crack is not too long, you can use a cold chisel and a 3-pound sledgehammer to work along each side of the crack. For longer cracks, there are specialty “crack chasing blades” that fit on an angle grinder that will do the job. These blades may not be readily available at your local store, so you may have to search for them online or have your local merchant order them for you.
Regardless of which method you use to widen the crack, more debris is going to be generated, so be sure and clean the crack well before moving on with the repair so your patching compound will adhere properly. Using the grinder will also produce a lot of dust, so it is recommended that some form of dust collection system and a mask be used. After the crack has been widened, follow the previous steps to fill the crack.

Many modern patching compounds are flexible and self-leveling, and some short and narrow cracks may only require cleaning the crack with a broom or vacuum and installing the sealant with a caulking gun. Regardless of what cracks you have in your concrete, getting them repaired quickly should be a priority to possibly prevent further damage. If the cracks have progressed to the point that the concrete sections are no longer level, it is probably time to seek professional assistance.
Sources:
1. MrFixItDIY.com
2. homedepot.com
Written by Bill Smith

You must be logged in to post a comment.