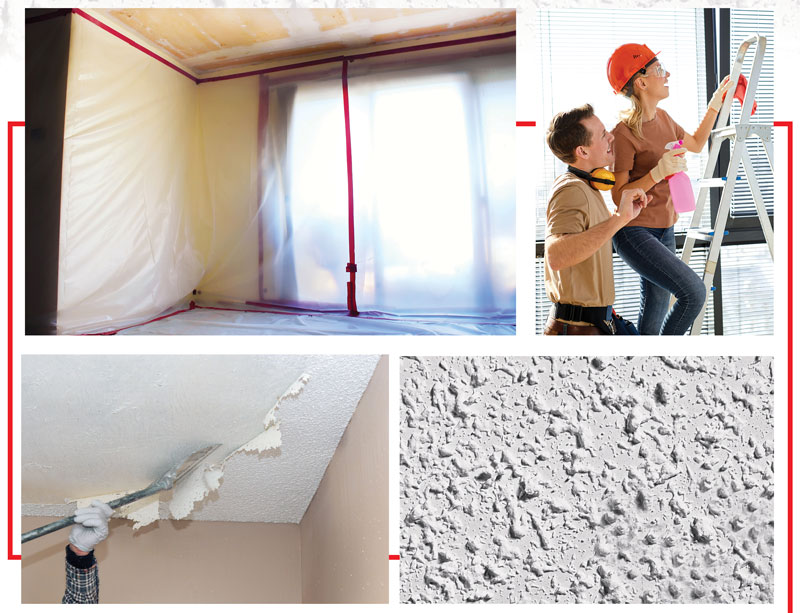
Popcorn ceilings were particularly popular in homes during the 1950s and 1960s, but like many styles, their popularity has waned over the years. While there were benefits to the heavily textured look, many homeowners have updated to a sleeker and more modern ceiling. One concern about removal of the texture is that ceilings textured as late as the 1980s could include asbestos fibers. Asbestos removal should be left to professionals, so it is best to have your ceiling tested for evidence of asbestos and hire a professional removal firm if it is present. This article will focus on removal of non-asbestos texture.
One other issue to think about when considering this as a do-it-yourself project is whether the heavily textured ceiling has been painted. If it has been painted, the texture will be more difficult to remove and may best be left to the professionals as well.
You can test your ceiling to see if you want to proceed with the project by spaying a small area with some diluted liquid dishwashing soap and warm water. After a few minutes, if the water is not absorbed, the ceiling has been painted and will be difficult to remove. If the water is absorbed, the texture should come off relatively easily. You can also scrape a small amount of the texture off with a putty knife and seal it in a plastic bag to be sent for testing. A directory of asbestos testing facilities should be on the EPA website. According to Todayshomeowner.com, if the material is found to contain over 1 percent asbestos, then by law you cannot remove it yourself and will need to contact a professional asbestos removal company or leave the ceiling as is. Even if it doesn’t contain asbestos, it’s important to wear an appropriate dust mask or respirator when removing the ceiling.

To proceed with the popcorn ceiling removal, you will need:
• A ladder
• Tarps and/or plastic sheeting
• Painters’ tape
• Safety gear to protect eyes, nose and mouth from dust and debris
• A paint scraper and putty knife
• Paint and finish materials to refinish the ceiling
First you will need to tape off the room. Controlling the dust and debris is a big part of the job, and the best practice is to remove all of the furniture and wall decorations from the room. Use tarps or plastic sheeting to protect walls and carpet and to prevent dust and debris from spreading to other rooms. However, care should be taken to provide adequate ventilation for the room.
Turn off the power to air conditioning systems, ceiling fans and light fixtures. Begin scraping the ceiling with your paint scraper. Work small areas at a time. Moistening the area with warm water from a sprayer with a few drops of dishwashing liquid may make the job easier. Moisten enough to loosen the material, but not so much that it damages the drywall underneath. Allow the water to be absorbed for 15-20 minutes. Make as many passes as necessary.
Use a small putty knife to scrape around the edges, moldings and light fixtures, being careful to avoid damaging the drywall and bedding tape. After the popcorn texture has been removed, sand the entire area lightly, again taking care to avoid damage to the drywall.
After all the material has been removed and the surface has been sanded, begin the steps to prepare the ceiling for a new finish, including covering nail or screw holes with joint compound and sanding down to a smooth surface. Note that popcorn ceilings were good at covering minor imperfections in the drywall, so a number of areas may need to be touched up.
There are many possible options for your new ceiling, but whether you choose paint, fabric, ceiling tiles, wood or any other modern ceiling covering, you have improved your home with a more up-to-date appearance. In addition, you have probably enhanced your home’s market value!
Sources:
1. havepaintbrush.com.
2. todayshomeowner.com.
3. homedepot.com
Written by Bill Smith

You must be logged in to post a comment.